Someone posted a question that was really a Magic Loop, knitting a sock on a single circular needle, question about where to place markers so you know where the gussets, heel, and insteps begin/end. This person had only knitted one sock, and that one using 2 sided sock needles. That was how I first learned how to make socks, from my good friend Maggie in the boys' dressing room at PNB's Nutcracker performances. Switching techniques can be confusing.
I knitted up little demonstration sock and took photos at the different steps to try to illustrate how I place my markers. This can be used for TAAT or single socks on 1 circular needle.
Anyway, here is my demonstration with explanations:
1. The cuff and leg are knitted on the circular needles. 1/2 of the stitches are the "front," "top" or "instep" side, the other 1/2 of the stitches are the "bottom," "back" or "sole" side. I use the terms "instep" and "sole." In this demonstration there are 32 stitches total, so 16 stitches on each side of the sock.

2. The heel flap is knitted on the sole side of the sock over 1/2 of the total stitches (on ALL of the sole side stitches). In this example, since there are 32 stitches total, 16 stitches. A temporary marker is placed 1/2 way across the heel flap on the needle. In this example, after 8 stitches.

3. The heel is turned. I have replaced the locking marker with a smaller sliding marker. It is still in the middle of the heel stitches, 1/2 way across, but there will be less stitches on the sole side after you have finished turning the heel. In this example there are now 10 stitches on the sole side. The stitch marker is placed after 5 stitches.

4. Pick up the gusset stitches along the left side of the heel flap.
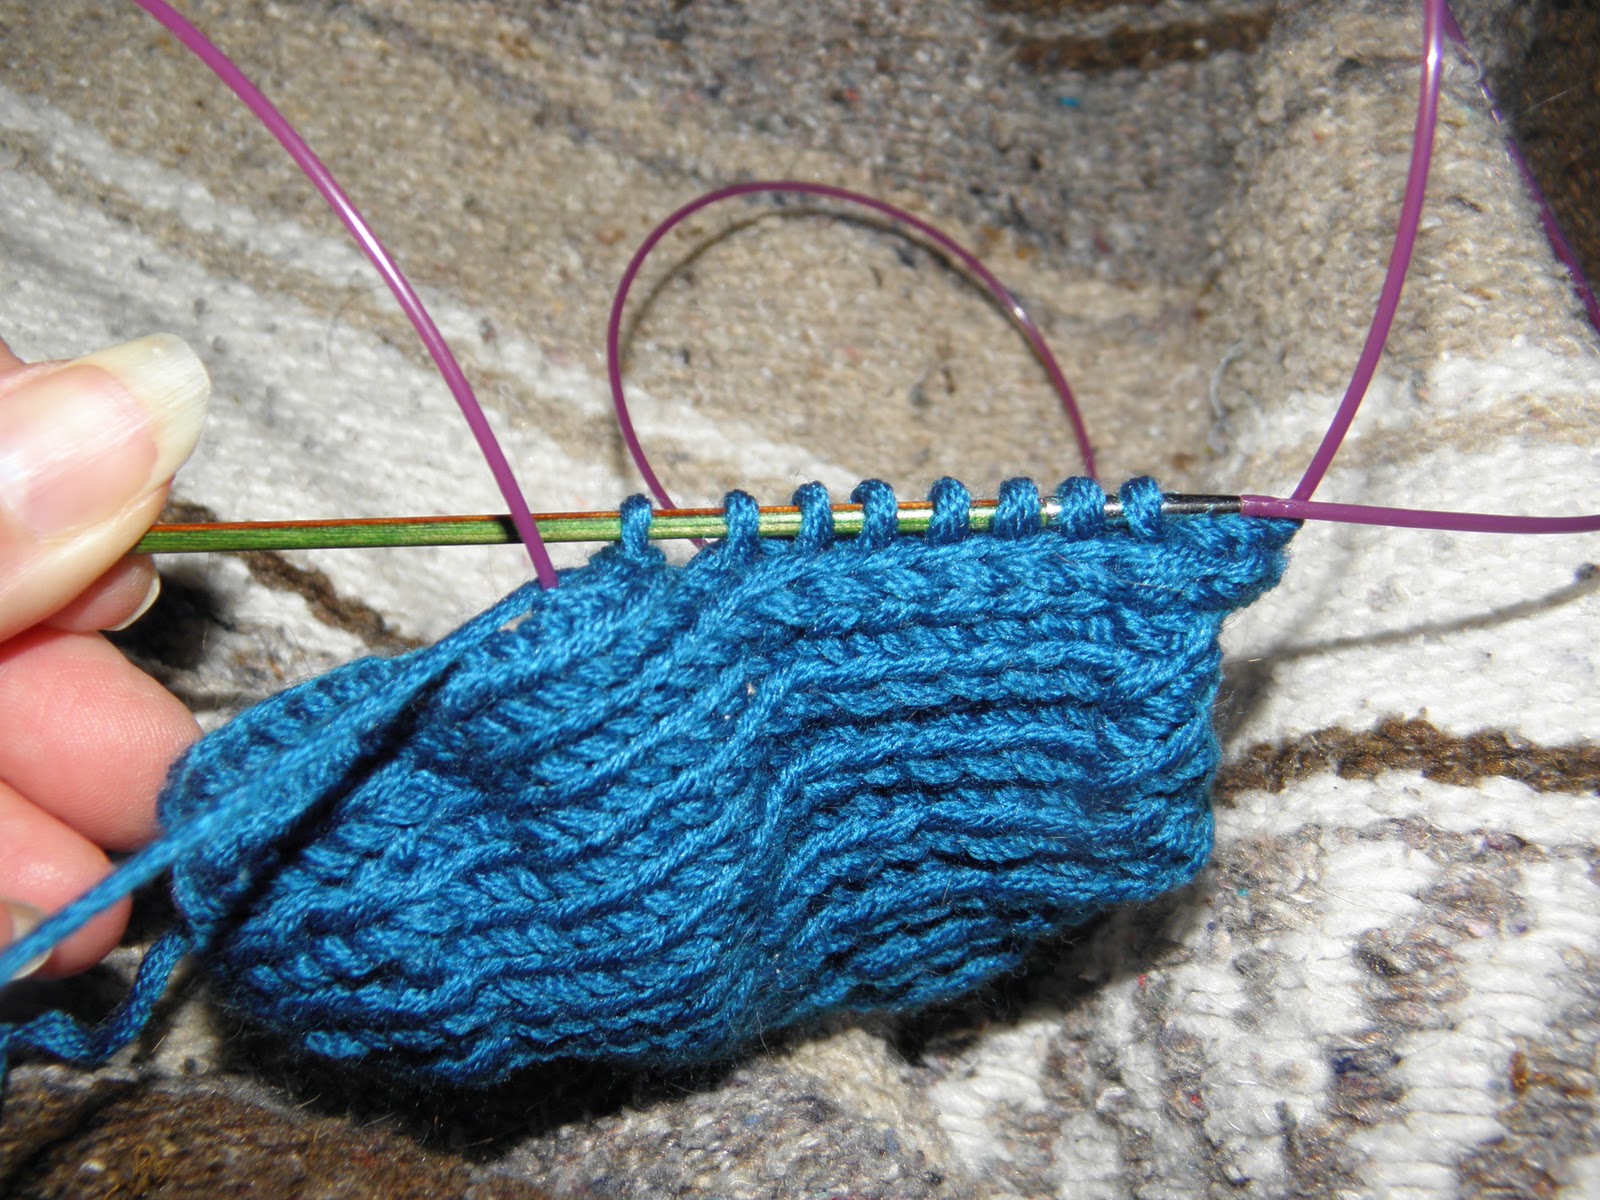
5. Pull the circular needle through so that the heel stitches AND the newly picked up gusset stitches are on the SAME side.

6. Knit across the instep in the pattern, being careful to leave the loop between the Heel-Gusset stitches and the instep stitches.

7. Pick up the gusset stitches on the right side of the heel flap.

8. Be careful to leave the circular loop between the instep stitches and these newly picked up gusset stitches. At this point you are part of the way down the sole side. This side of your circular needles contains both gussets and the turned heel stitches.

9. At this point, you can count and place your sole side markers. Usually, you need the same number of stitches on the sole side as you have on the instep side. The marker you placed in the middle of the heel will be in the middle of this side. Count out 1/2 of the total stitches needed from that center marker both ways and place temporary locking markers. In this example, since there are 16 stitches on the instep side, I counted 8 stitches both ways. There are 16 stitches between the green and orange locking markers.

10. Knit to the middle marker. Now your Gusset Decrease Rows Begin. If it bothers you to "begin" in the middle of the sole side, you can simply knit across the rest of this needle, knit the instep side in its pattern, then begin the decreases on the right side of the heel. It will add 1 extra row on the left side of the heel. If you are using sock yarn, this shouldn't ever be noticed by the wearer as it is so tiny. I usually do this.

11. As I knit around, I replace the big clunky locking markers with smaller sliding markers.

12. This is a photo of the sock from the inside. The stitches between the 2 blue markers will NOT be decreased in a typical sock pattern. The gussets are the stitches from those blue markers to the end or beginning of that needle. You can see that one side of the circular needle holds the instep, and the other side holds gusset-heel-gusset. After you are finished reducing the gussets, the blue markers will be taken off.

C. A. Losi
No comments:
Post a Comment