
Window Pane Square by nleon
Stitch Tutorial
This is the Stitch Tutorial
for the 2012BAMCAL Group on Ravelry's July 6 in. Square. This square was designed by Nina Leon (nleon307.) Her blog is HookersDontBite I would like to thank her for putting the
instructions for this square up for free, and for allowing me to do this photo
tutorial on my blog. I am always amazed
by the generosity of designers.
I will put the original
instructions in BLACK. Any extra
explanations, clarifications, or suggestions I make will be in BLUE.
I realize that I changed a
lot of the writing of the instructions.
The pattern is nleon's NOT mine.
I just tried to write the tutorial in a way that was more easily
understandable to me. If you have corrections or suggestions please leave a comment or message me in Ravelry, and I will do my best to fix it.
Instructions:
Using an H hook and worsted weight yarn this created a 6
inch square. If you need to make the square slightly larger, add more rows of SC or HDC as
border rows.
Notes: You will join each row with a slip stitch and will
not turn. Slip stitch to corner or finish off and add new yarn color at the
corner at the end of each row. Repeat between () or [] where indicated.
Row 1:
Ch4, Join with Slip Stitch
 | |
| Row 1 |
Row 2:
Ch4, (counts
as first TC)

15 TC into circle,


join with slip stitch into top of Ch 4
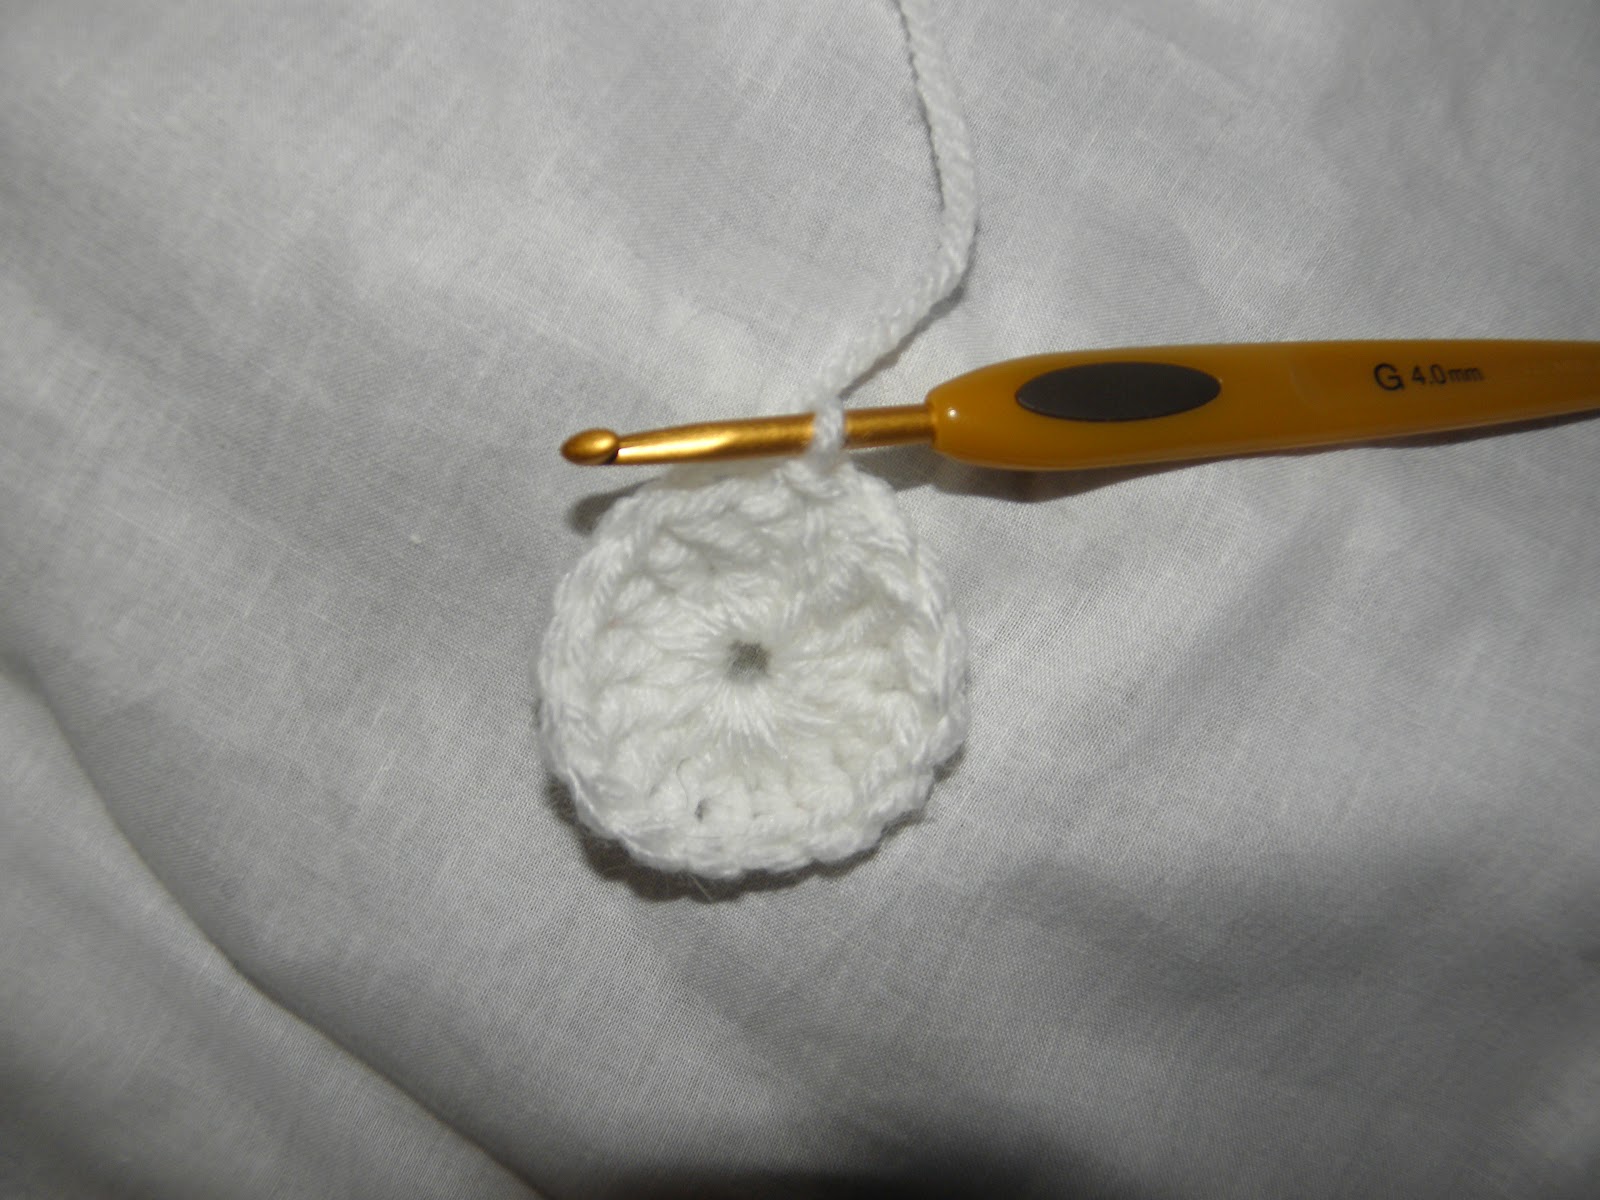
finish off. 16TC
 | |
| Row 2 |
Row 3:
Join new color with ss in
any TC.

CH 1 (3 SC in
same stitch, CH 2, skip next stitch) 8 times,


join with slip stitch into first SC
24 SC 8 2ch spaces
 | |
| Row 3 |
Row 4:
3SS to ch 2 sp
(Ch 3 (counts
as DC)

2 DC,

Ch 1, 3 DC, Ch 1) in the first Ch-sp, corner made
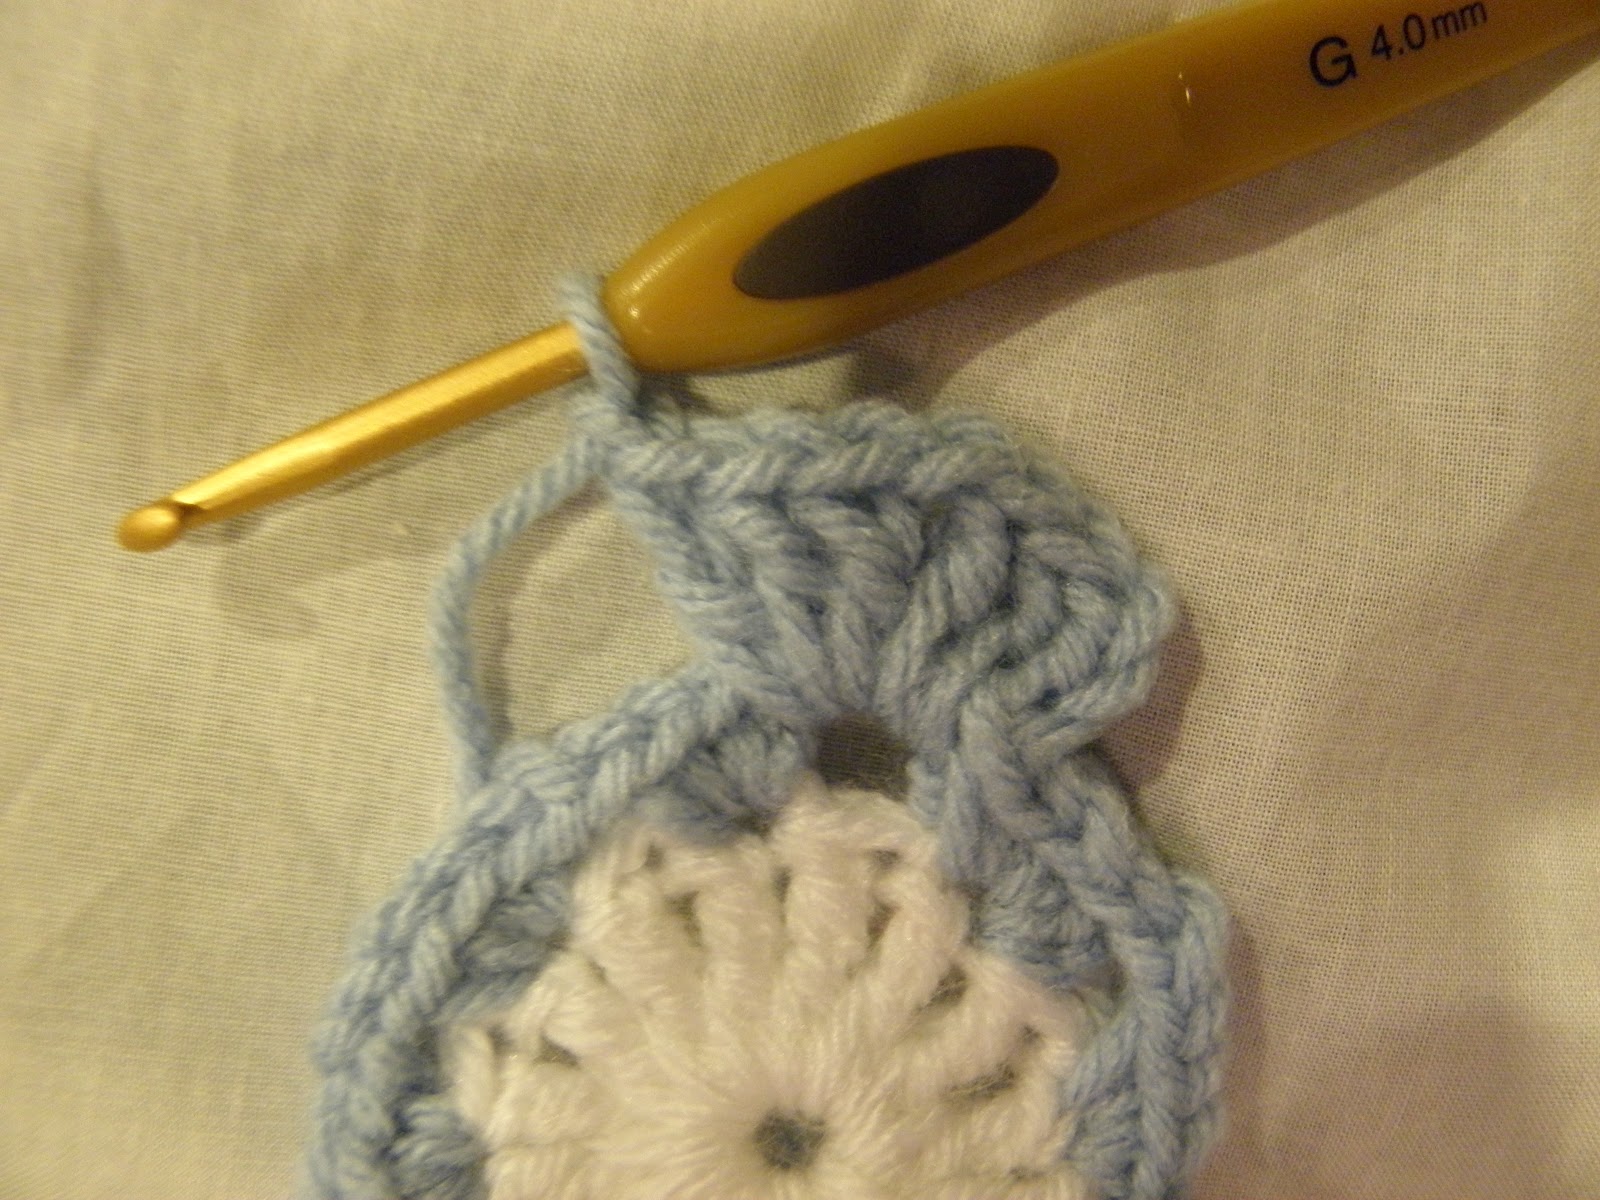
[ *(3 DC, Ch 1)* 1 time in the next
Ch-sp,
2 times in the next Ch-sp (corner made)]

repeat from [
to ] 2 more times, and from * to * 1 more time

join with slip stitch into top of first
Ch 3
finish off 36 DC, 12 SC spaces
 | |
| Row 4 |
Row 5:
Join new color with SS in
any corner, ch 1

*2sc in corner space, Ch 3,

(1 SC in ch1
sp, Ch 3, ) twice *


repeat from * to * 3 more
times

ending with ss in first sc.
finish off. 16 sc 12 ch 3 spaces
 | |
| Row 5 |
Row 6:
join with ss in first sc of
any corner

Ch 6 (counts
as DC and ch 3),

[DC (in SC), Ch3 ]

repeat from [to] around,

join with slip stitch into third chain
of first Ch 6
16 DC, 16 ch 3 Spaces
 | |
| Row 6 |
Row 7:
ss in corner ch 3 sp

Ch 1, [6 SC in corner Ch 3-sp,

(1 sc in DC, 3 SC in ch 3 sp) 3 times

SC in DC ]

repeat from [ to ] 3 more
times

join with slip stitch in first SC
finish off. 76 sc
 | |
| Row 7 |
Row 8:
join with ss in 4th sc in
any corner

Ch 1, SC in
same sc

SC around, 3SC in corners (I made mine in the 3rd of the 6 corner sc),


join with slip stitch in first SC

Repeat Row 8 if you need to make the
square a little larger.

finish off.
 | |
| Round 8 Complete Square |

I would like to thank nleon307 for allowing me to write and post this tutorial. But most of all, for creating this fun pretty square, and posting the instructions for free.
Yours,
f1bercat
shaping the planet one (or two) new squares at a time


